september 29, 2015
Install instructions for Open Karotz (with extra steps)
Note this: I don't recommend this method anymore.
If you want an efficient way to install Open Karotz, take a look at Free Rabbits OS.
When I installed Open Karotz, I had to change a few steps in the install procedure described on the Open Karotz webpages.
Step 1a: Reset your Karotz to factory default settings.
- Turn off your Karotz using its switch (on the back).
- Turn it on while holding down the button on his head (Karotz is flashing pink).
- When the light turns solid pink, release the button.
- The light (LED) turns dark blue, and then goes through the colors red, pulsing orange, red again, and finally fixed cyan.
- Your Karotz is returned to its original configuration (factory default settings).
- Turn off your Karotz.
Step 1b: Install latest original firmware and activate network.
- Go to http://plug.openkarotz.org
- Follow the wizard and enter your WIFI or LAN settings.
- Download the ZIP file, and unzip it to an empty folder (for example a new folder on your desktop). Note: don't use the utility built into Windows to unzip. Use 7-Zip instead. When opening the ZIP file in 7-Zip, you'll see a folder with no name. Ignore this, select all files including folder, click the "Extract" button from 7-Zip, and extract to a new folder.
- You'll see some files and two folders. The "sound" folder contains French sound files (MP3 format). Replace them with English ones.
- Copy all files to the root of a USB key, formatted as FAT32, no other files should be present.
- Turn off the Karotz.
- Plug the USB key into your Karotz.
- Turn on your Karotz.
- The LED will turn red, and after this will flash orange.
- You'll hear spoken instructions and music.
- Wait for the OS-installation to finish. This can take a few minutes.
- Karotz will tell you when its finished and will reboot to connect to the internet. During this reboot, the LED will turn from red to orange and other colors.
- After rebooting and successful internet connection, your Karotz will tell you that is has connected to your network. This step is now complete, the LED will flash green.
- Turn off your Karotz.
Step 2: Install Open Karotz software.
- Download the ZIP file containing version 2.0 OpenKarotz from http://openkarotz.filippi.org/?page_id=43. You should choose "OpenKarotz 2.0 : 09/11/13".
- Unzip to an empty folder (for example a new folder on your desktop).
- Copy all files to the root of a USB key, formatted as FAT32, no other files should be present.
- Turn off the Karotz.
- Plug the USB key into your Karotz.
- Turn on your Karotz. The LED will turn from red to orange.
- The update should run automatically and has spoken instructions (currently in French).
- After the update is finished, your LED will turn green and stay green for 60 seconds.
- You can now turn off your Karotz and wait until the LED is off.
- Remove the USB key and turn on your Karotz. After booting, the LED should be green.
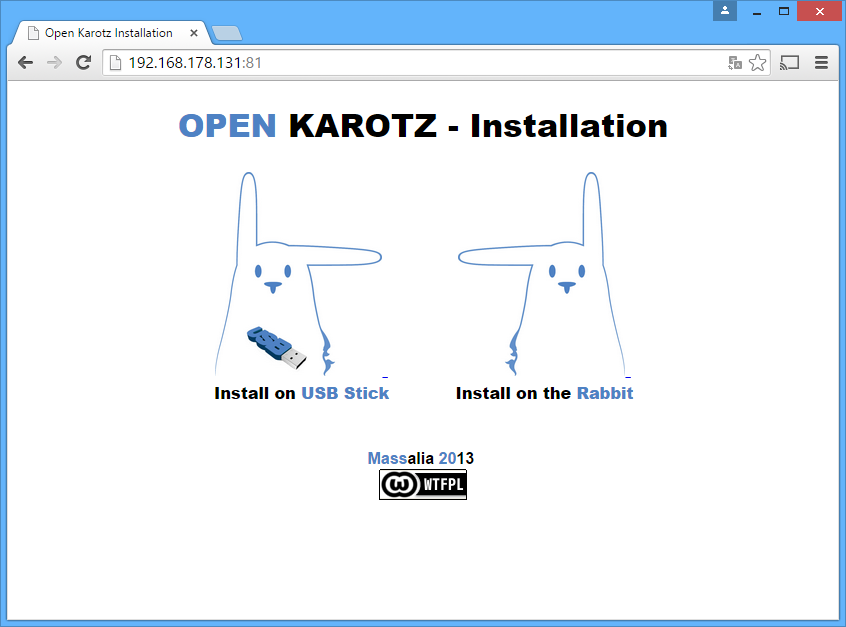
- To verify that the update was successfull, use your browser to go to HTTP on port 81 of your rabbit: http://[ip-of-your-rabbit]:81. You should see an install screen.
- You may also want to try to telnet on the IP address of your rabbit and login with "karotz".
- If everything looks good, you can go to step 3.
Step 3: Install Open Karotz Webinterface.
- Use your webbrowser to go to port 81 of your rabbit. You should see a screen offering two choices.
If you choose to install "on a USB key", a portion of the API is installed on a USB key plugged into the rabbit and you'll need this USB key to use your rabbit.
If you choose to install "on the rabbit" the API is installed on the flash memory of your rabbit. - As soon as you click, the install script starts executing. The LED will turn orange.
- At the end of the installation you will see a message and your rabbit will automatically restart.
- Wait until the LED is green.
- Once your rabbit is restarted, use a webbrowser to connect via HTTP on port 80 of your rabbit: http://[ip-of-your-rabbit]
- You should see the intro screen. Click the rabbit to go to the OpenKarotz interface.
Step 4: Install latest Open Karotz firmware.
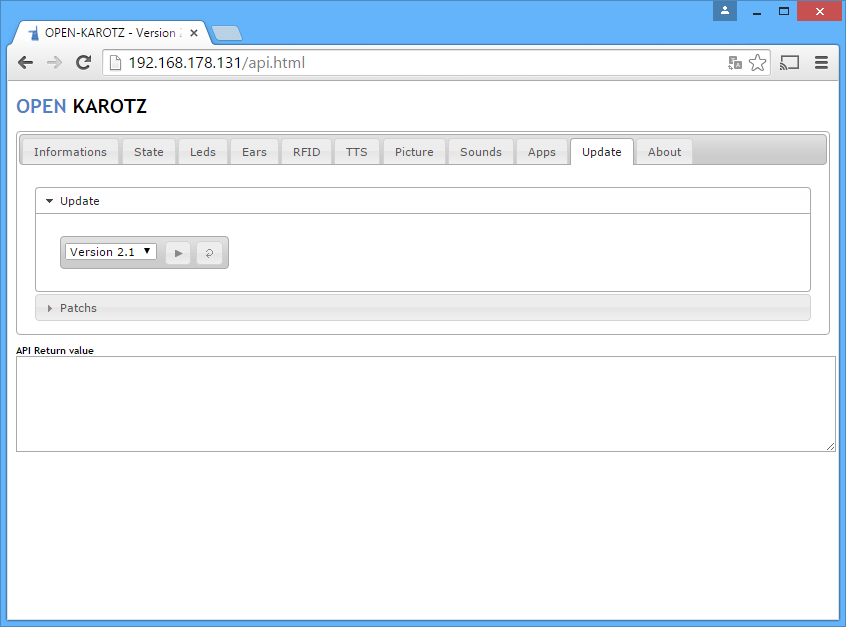
- Go to the update tab, open "update" and select the latest firmware. If you don't see a version number, use the refresh-button (near the arrow-button) to refresh the firmware list.
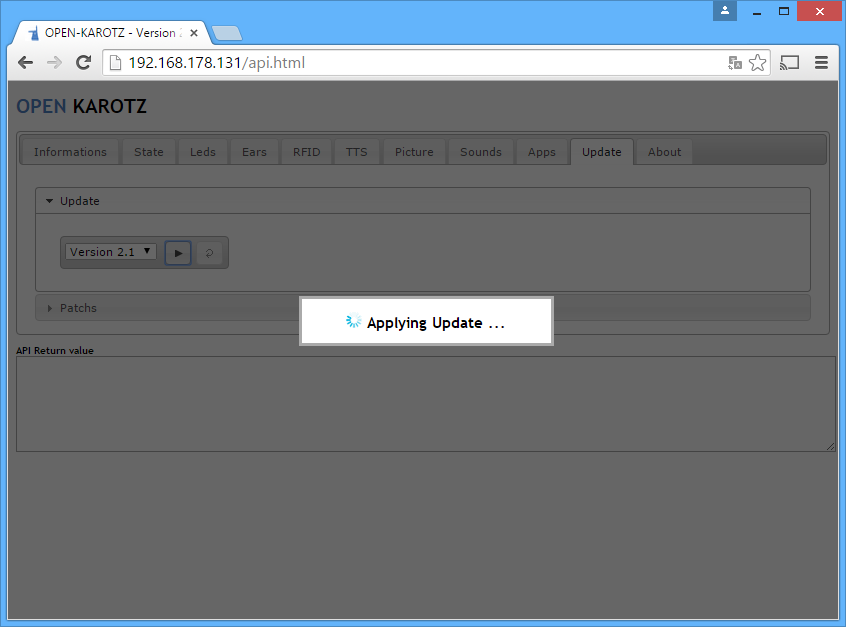
- Click on the arrow-button behind the version number to update to the latest firmware.
- Wait for the installation, the rabbit restarts itself in the end.
- If you encounter a timeout error, ignore it. It does not impact the upgrade.
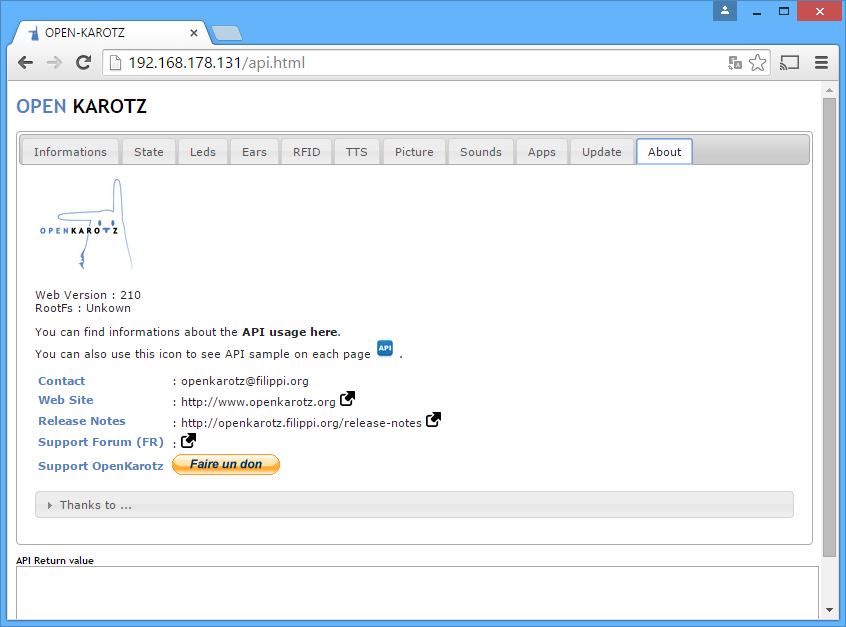
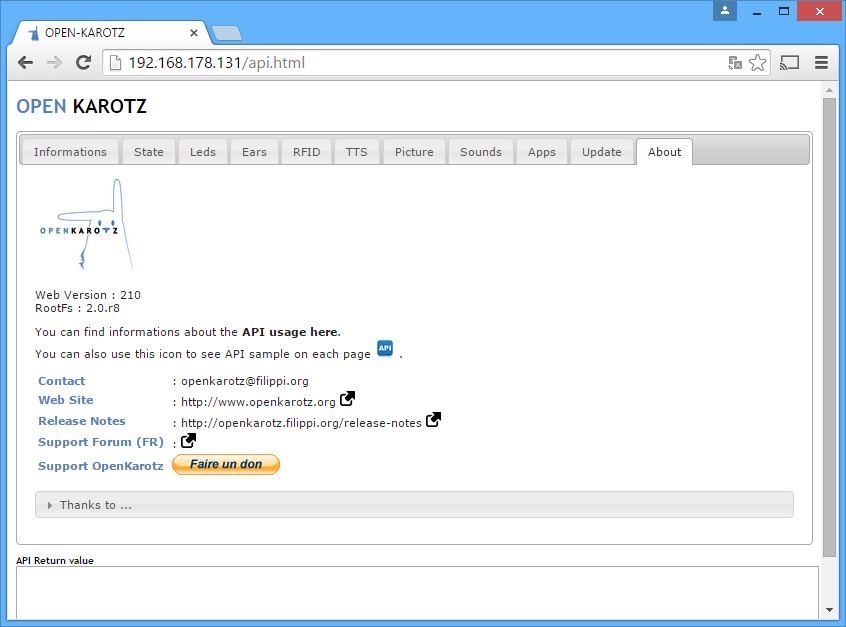
- Once your rabbit is rebooted, refresh the page in your browser, and go to the tab "About". The Web version should be at 210 for firmware version 2.1.
- Also check your RootFs version. If it is Unknown, you must update the firmware of your rabbit using these steps:
- Open "update" again, and choose the latest version (currently this is "Version 2.08").
- Click on the arrow-button behind the version number to start.
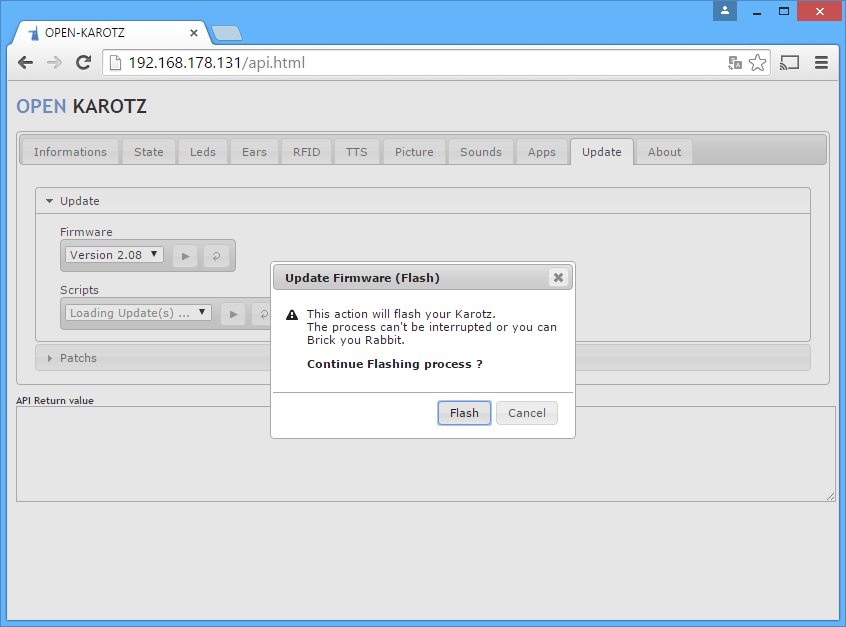
- An "Update Firmware Flash" dialog is shown. Click "Flash" to start. The LED will start flashing orange.
- At the end of the installation your Karotz restarts itself, wait for this to complete.
- Refresh the page in your browser and go to the tab "About". The RootFs version must now match the one you have installed (currently Web Version: 210 and RootFs: 2.0.r8).
Step 5: Install patches.
- You can now check some functions of your Karotz. On mine, the camera and TTS (Text to Speech) was not working.
- Go to the tab "Updates" and open "Patches".
- Apply the patches one by one, starting with the oldest ("Bug Fix") an ending with the newest ("Radios update list"). I didn't install the "Mobile UI" patch. Your Karotz will reboot after each patch.
- After this, your camera should work. Check if TTS is working (go to TTS, open "Speak", choose a voice, enter text, press the "Speak" button). If TTS doesn't work, goto step 6.
Step 6: Fixing TTS (Text to Speech).
- Go to the forum on http://www.touteladomotique.com/forum/viewtopic.php?f=160&t=11661&sid=03bebcfe6fdd7e43dee41dfa552a544d&start=2124
- Look for a post of MikeyLife (28 Mai 2015, 19:58) where he shows some code starting with "function AcapelaTTS".
- Click on "TOUT SÉLECTIONNER" (or on "SELECT ALL" if you have translated the webpage) and copy the code to your clipboard (CTRL+C).
- Paste the code in a Notepad or Notepad++ document and save as file "tts.inc"
- Transfer the file to the rabbit using FTP-software (I used WinSCP) to folder /usr/www/cgi-bin/ (overwrite the current file).
- Connect to your rabbit with Telnet (password "karotz") and run the following two commands:
chmod 644 /usr/www/cgi-bin/tts.inc
dos2unix /usr/www/cgi-bin/tts.inc - Go to the tab "TTS" and open "Speak". Choose a voice, enter some text, and press the "speak"-button. The rabbit speaks again.
Change Wifi afterwards
More information about changing your Wifi settings: see these instructions.
Images
